
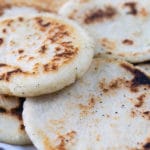
This easy arepas recipe makes delicious corn cakes that are crispy on the outside and soft on the inside. Made with just a handful of simple ingredients, arepas are a staple in both Colombian and Venezuelan cuisine and can be enjoyed any time of day.
One of the things I love most about arepas is how versatile they are. They can be split open and stuffed with cheese, beans, shredded meat, tuna, avocado, or just about anything else you like. They make a satisfying breakfast, lunch, dinner, or snack and are surprisingly easy to make at home.
If you enjoy Latin American comfort foods, you’ll also want to try my pupusas recipe and bean gorditas.
Why You’ll Love This Recipe
- Made with only 4 simple ingredients
- Crispy outside and tender inside
- Naturally gluten-free
- Easy to customize with your favorite fillings
- Great for breakfast, lunch, dinner, or snacks
What Are Arepas?
Arepas are thick corn cakes made from pre-cooked cornmeal. They are a popular staple throughout Colombia and Venezuela and are commonly served as a side dish or stuffed with various fillings.
While arepas are similar to gorditas and pupusas, they each have their own unique characteristics. Gorditas are made with masa harina and are often fried, while pupusas are stuffed before cooking. Arepas are typically cooked first and then sliced open to be filled afterward.
Ingredients You’ll Need For This Easy Arepas Recipe
Pre-cooked Cornmeal
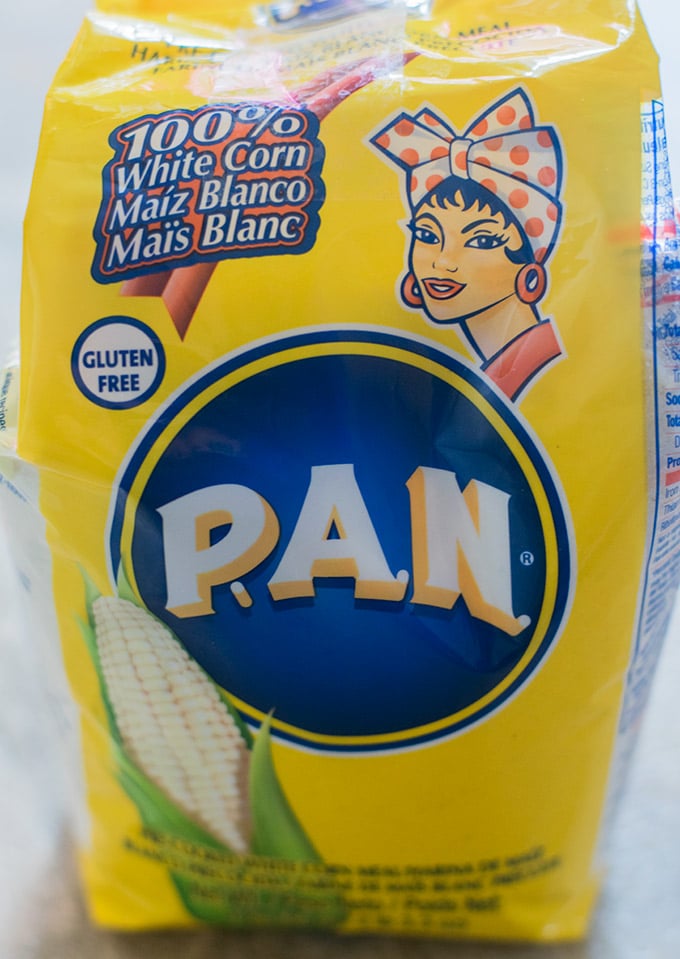
Be sure to use pre-cooked cornmeal specifically made for arepas. This is different from regular cornmeal and is usually found in the Hispanic foods section of most grocery stores.
Water
Warm water helps hydrate the cornmeal and create a smooth dough.
Salt
Adds flavor to the dough.
Sugar
Just a small amount helps balance the flavor and enhances the natural sweetness of the corn.
How to Make Arepas
Step 1: Prepare the Dough
In a large bowl, combine the warm water, salt, and sugar. Gradually add the pre-cooked cornmeal while mixing until a soft dough forms.
Let the dough rest for 10 minutes to fully absorb the water.
Step 2: Shape the Arepas
Divide the dough into 8 equal portions and roll each portion into a ball.
Flatten each ball between your palms into a thick disc about ½ inch thick. Avoid making them too thin since they will need to be sliced open later for filling.
Instead of flattening them out between your palms you can also use 2 sheets of plastic and a heavy bottom pot if you want them more evenly round.

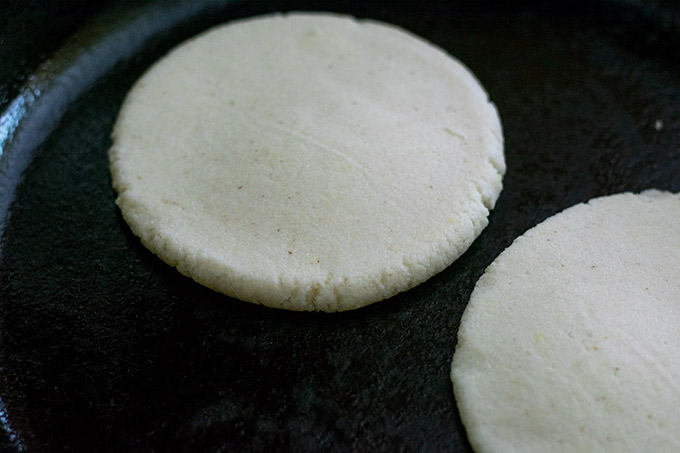
Step 3: Cook the Arepas
Lightly oil a skillet and heat it over medium heat.
Cook the arepas in batches for about 5 to 7 minutes per side until lightly golden brown. Cooking over medium heat allows the inside to cook through while creating a lightly crisp exterior.
Transfer the cooked arepas to a plate and allow them to cool for about 10 minutes.
Make sure to add more oil to the skillet in between batches if needed.

Step 4: Fill and Serve
Once cool enough to handle, carefully slice each arepa open with a knife.
Fill with your favorite ingredients and serve immediately.
For a simple cheese-filled arepa, add mozzarella cheese and return the arepa to the skillet for a few minutes until the cheese is melted. If you’re making a bunch of cheese filled arepas you could also just bake them at 350 for 10 minutes or until the cheese has melted.
Filling Ideas
Need inspiration? Here are some delicious fillings to try:
- Mozzarella cheese
- Refried beans
- Shredded beef
- Pulled chicken
- Tuna salad
- Avocado slices
- Scrambled eggs
- Butter
I especially love them with melted mozzarella cheese and a little salsa macha.
Tips for Success
- Don’t flatten the dough too thin or the arepas may tear when sliced open.
- Cook over medium heat rather than high heat.
- Let the arepas cool before cutting them open.
- Add a little more oil to the skillet between batches if needed.

Frequently Asked Questions
Are arepas gluten-free?
Yes. Traditional arepas are naturally gluten-free because they are made from cornmeal rather than wheat flour.
Can I make arepas ahead of time?
Yes. Cook the arepas, allow them to cool completely, and store them in the refrigerator for up to 4 days.
Why are my arepas cracking?
Cracking usually means the dough is too dry. Add a little more water until the dough is smooth and easy to shape.
Storage
Store leftover arepas in an airtight container in the refrigerator for up to 4 days.
Reheat them in a skillet over medium heat until warmed through. Avoid microwaving if possible, as it can make them soft instead of crisp.
More Latin American Recipes
I hope you enjoy this easy arepas recipe as much as my family does. Whether you fill them with cheese, beans, or your favorite protein, they’re a simple and delicious meal that’s easy to customize.
how to make arepas
Arepas are a delicious and popular food in Colombia and Venezuela. Once you try them you will see why.
Ingredients
- 2 cups pre-cooked corn meal such as P.A.N.
- 2 1/2 cups water
- 1 tsp salt
- 1 tsp sugar
Instructions
-
Pour the water into a mixing bowl. Add the salt and sugar to the water. Now slowly add the corn meal while mixing. Continue to mix until you get a nice smooth dough.
-
Let the dough rest for 10 minutes. Then divide into 8 equal sized balls.
-
Flatten the balls bewteen your palms one at a time. Or instead cut out 2 squares of plastic (I used a ziploc bag for this). Put a dough ball on one of the plastic squares then top with the other square. Then take a heavy bottomed pot to flatten the dough. Transfer the flattened arepa to a skillet over medium heat and cook for five minutes on each side. They should be browned with some darker spots as well.
-
Repeat the above process with the remaining dough balls. Once the cooked arepas are cool enough to handle use a knife to cut them open. Stuff them with your favorite fillings and enjoy!
-
Store any leftover arepas in the fridge.
Want more South American Recipes? Try these amazing recipes!
Chimichurri Recipe – Wonky Wonderful
Vatapa-Brazilian Shrimp Stew – The Schizo Chef
Jane
Tuesday 1st of March 2022
I didn't know about this food, so I am anxious to try it. but I had trouble reading your information with all the pop-up ads. I know you need them but they were annoying. Thanks for the recipe. I love to try new Latino foods!
afra
Saturday 2nd of January 2021
Super nice. I loved stuffing them with grated cheese, tuna and a little salt and pepper